Publish NPM Packages
Packages Publication
Modularisation in the context of software is important for the separation of code and files that have relevance to each other, as well as facilitating the consumption of modules that are common between 2 or more projects. Although there are different types of packages and ways to publish them, this tutorial is based on publishing NPM packages.
Generate Personal Access Token
In order to be able to publish packages, it is necessary to generate a Personal Access Token. This token can be generated by following the steps below:
- Go to the Settings option
- Once you are in the settings panel, press the Developer Settings button
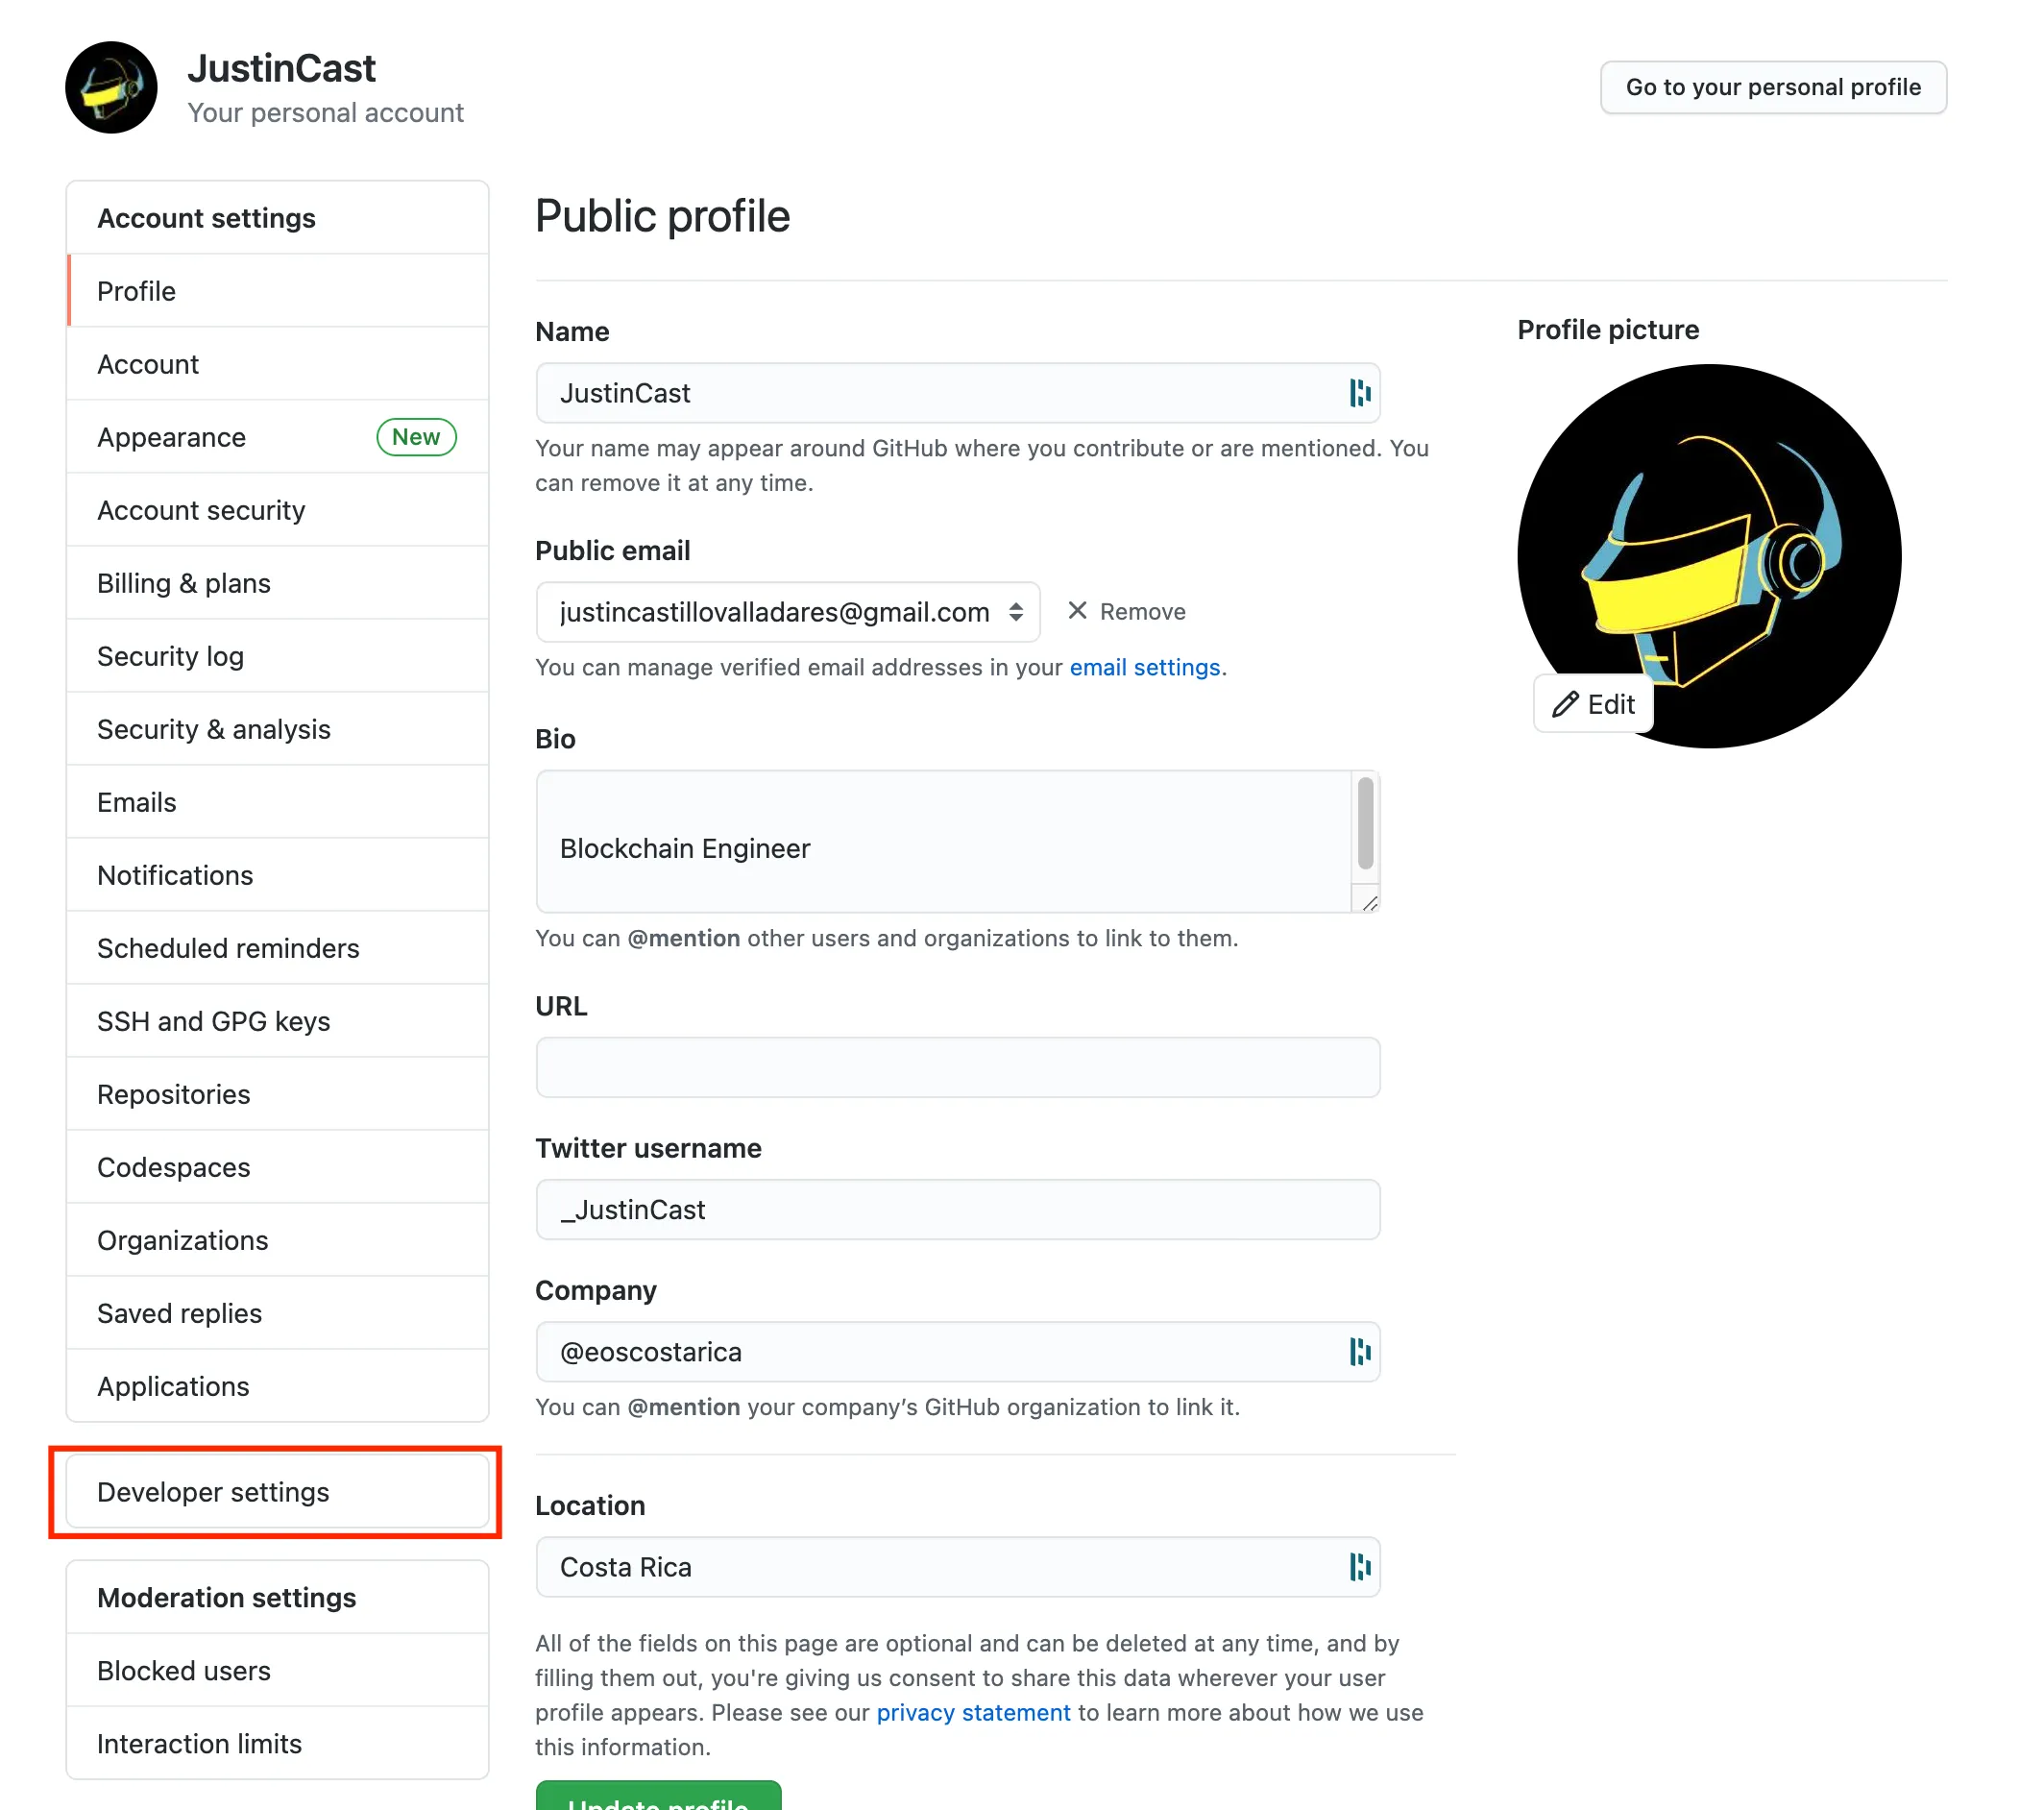
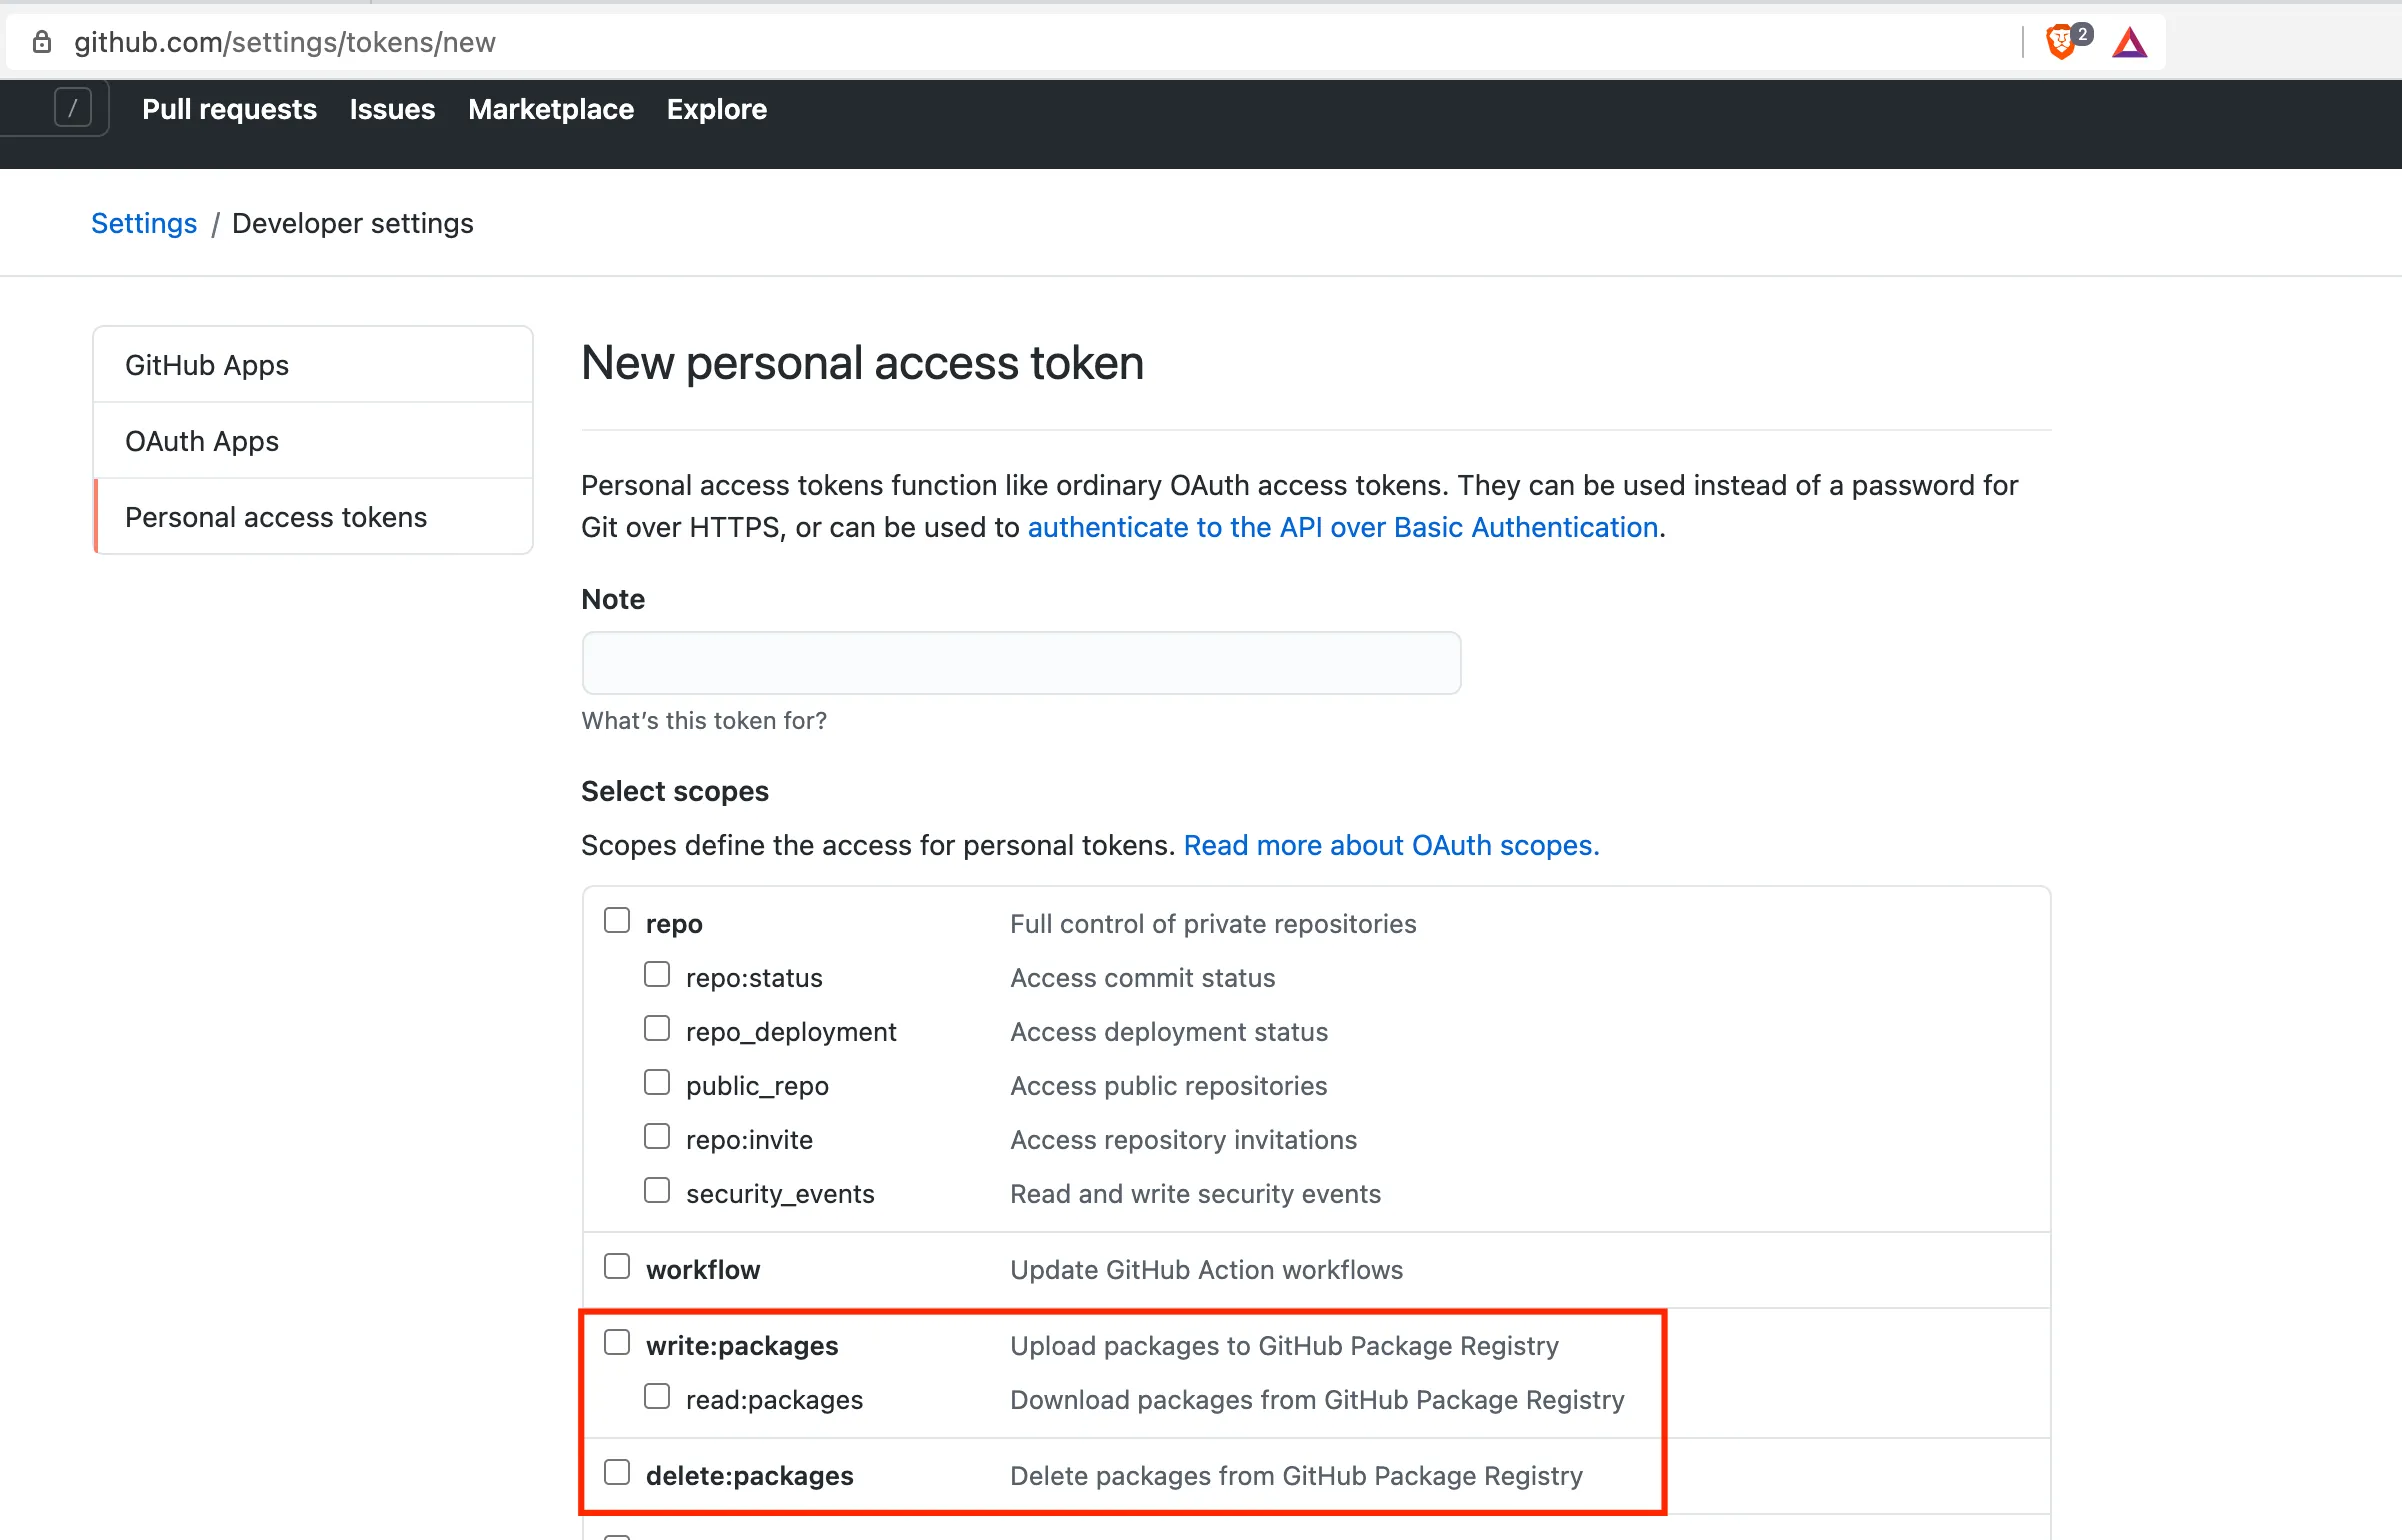
- Now, click on the Personal Access Tokens option
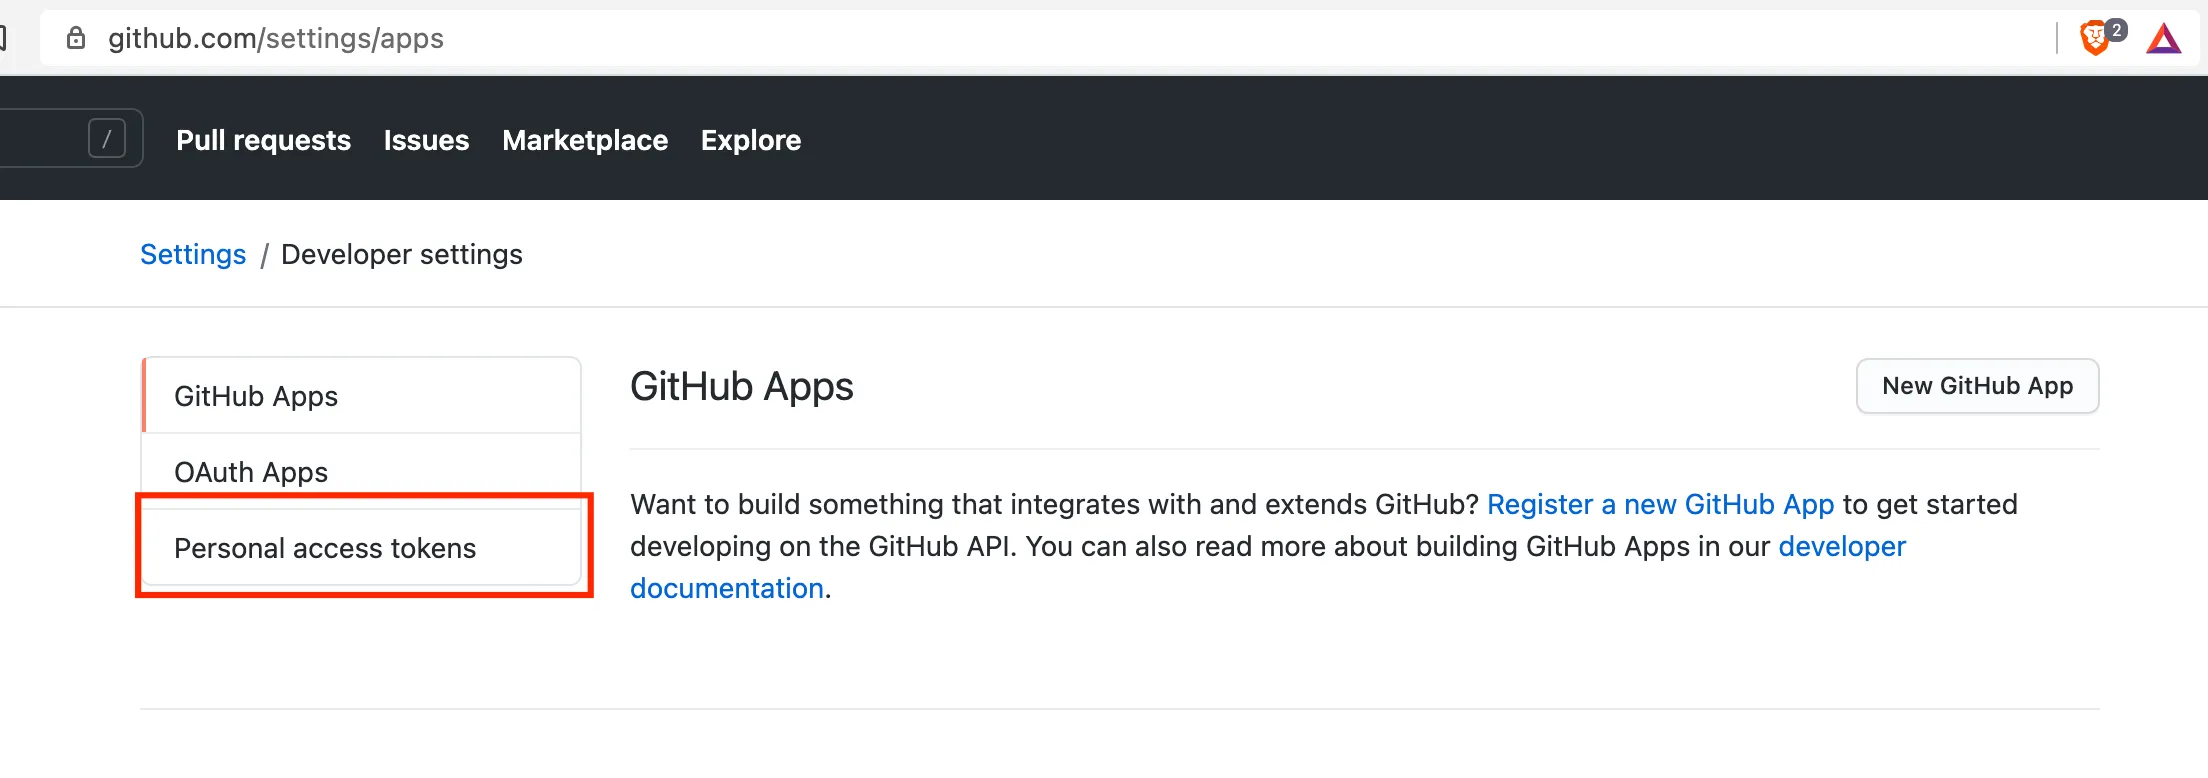
- Once you have clicked on the previous option, press the Generate new token button
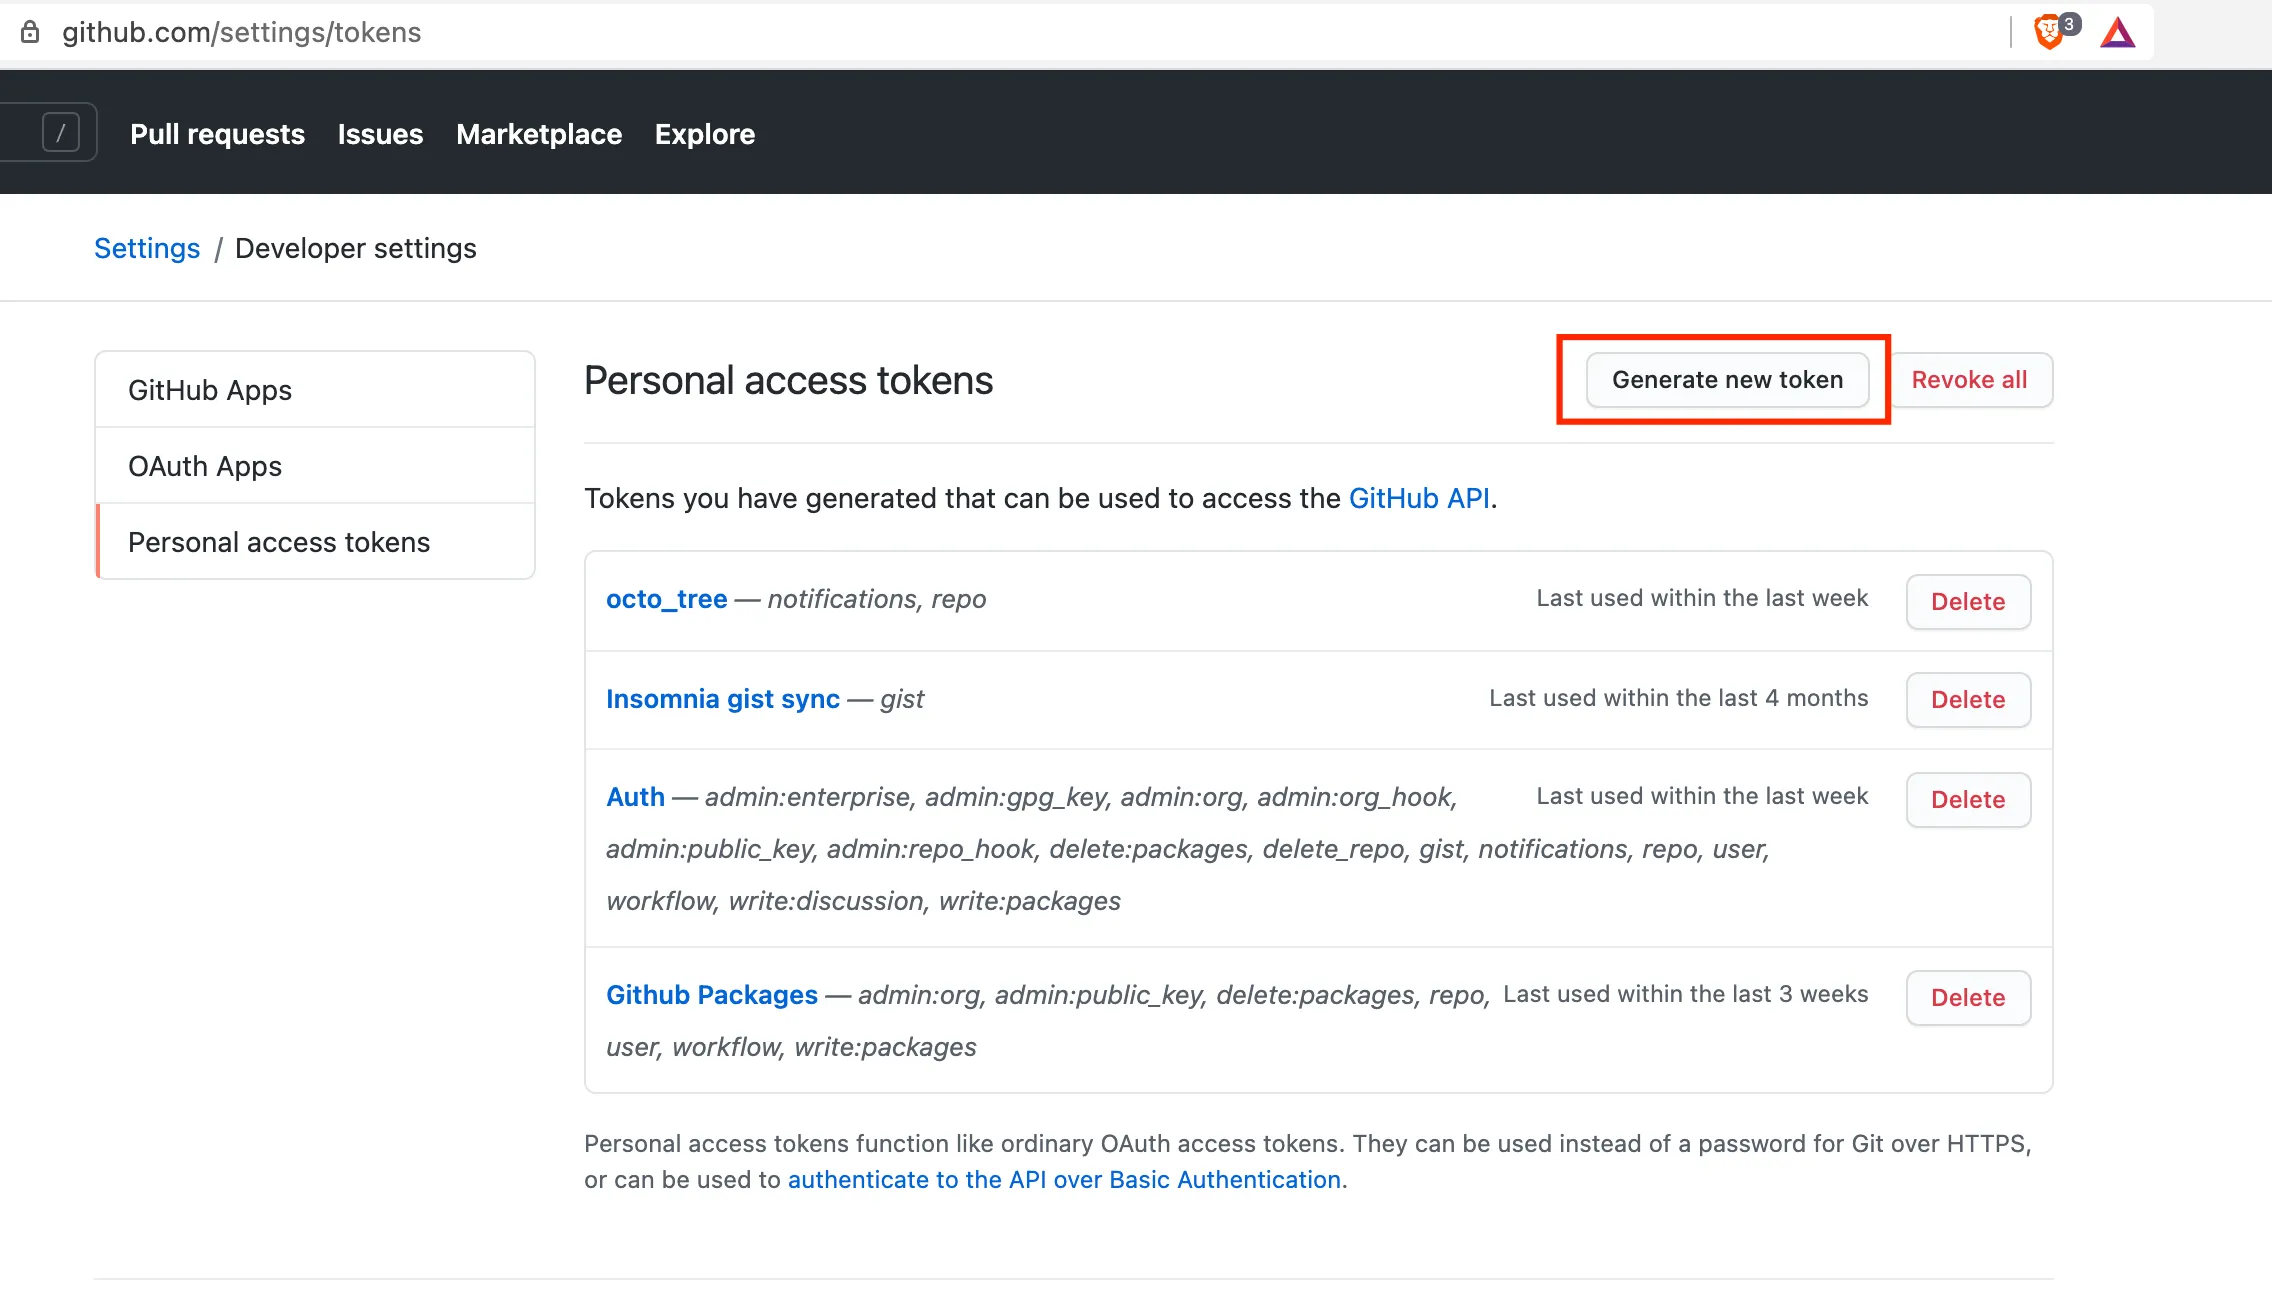
- Now select the appropriate scope for the token, as shown in the following image
- Finally, press the button shown in the following image (located at the bottom of the page) to obtain the tokenThe token is displayed once it is generated; proceed to copy it to a safe place, as it is not displayed again.
<p style={{ align: "center" }}>
  <img alt="Shows graphically where to find the generate token button" src={ useBaseUrl( '/img/packages-publication/GenerateTokenButton.webp' )} width="100%" />
</p>
Github's Package Registry
Github Package Registry is a package registry that offers among its advantages:
- Handling of the same credentials used in Github.
- Possibility of integration with Github Actions and Webhooks.
- Private packages that are kept within the same scope of the organization.
Authentication Using npm login
To authenticate to the Github Registry you need to use the npm login command as follows:
$ npm login --scope=@OWNER --registry=https://npm.pkg.github.com

> Username: USERNAME
> Password: TOKEN
> Email: PUBLIC-EMAIL-ADDRESS
Remember to replace USERNAME with the respective Github user (the one who created the Personal Access Token), TOKEN with the generated Personal Access Token and PUBLIC-EMAIL-ADDRESS with the email address that corresponds to the user. If you wish to authenticate by adding your Personal Access Token to the
~/.npmrcfile, you can refer to the github documentation for more on this.
Publish a Package
In the package.json file you need to add one more element called publishConfig, which refers to the registry where you want to publish the package.
- Edit the
package.jsonfile and include the entrypublishConfig"publishConfig": {
"registry":"https://npm.pkg.github.com"
} - Check if the
repositoryentry in thepackage.jsonfile corresponds to the repository URL. For example if the repository URL isgithub.com/my-org/test, then therepositoryentry should begit://github.com/my-org/test.git - Now run the following command in the terminal to publish the package
$ npm publish
```
Deploy a New Version of the Package
When releasing a new version, it is necessary to change the version entry in the package.json file. The npm [Semantic Versioning] standard (https://docs.npmjs.com/about-semantic-versioning) is being followed for this.
Install the Published Package
To install the package, you need to run the following code:
yarn add @scope/package-name
Note that
@scoperefers to the owner (username or org name) under which the package is published. If you want to install a specific version of the package, you need to run the command:yarn add @scope/package-name@versionhere.